A Loose Button, a Short First Repair
A secure button repair depends on more than tight stitches. Match the button’s position, leave room for the fabric beneath it, and finish the thread where it won’t show.
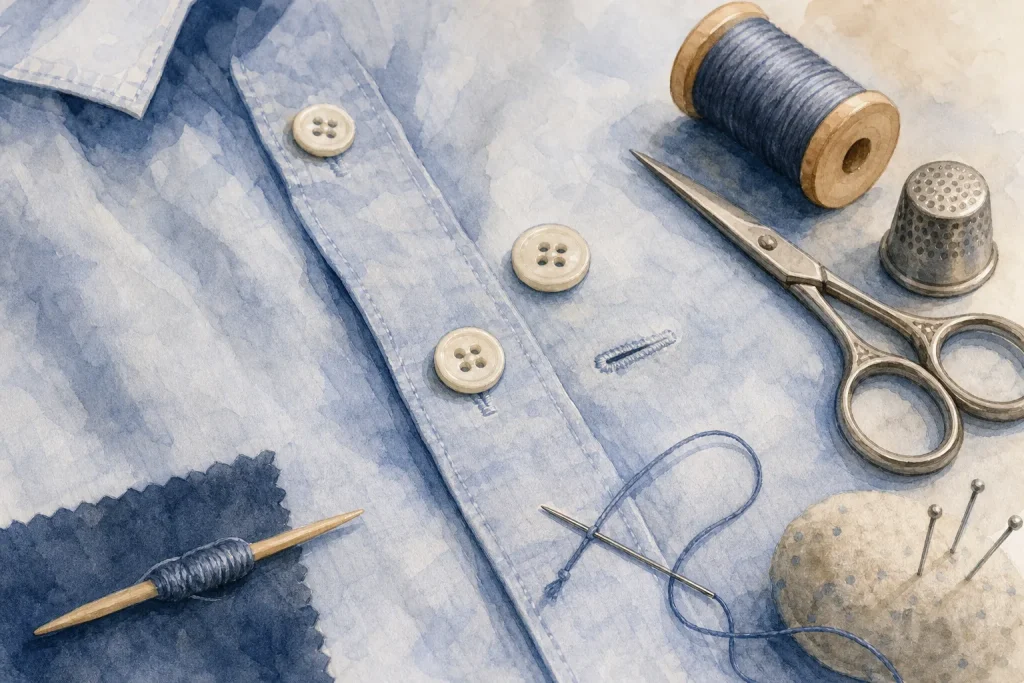
A button sewn back into the wrong spot can pull a shirt front crooked, even if every stitch is tight. Before you thread a needle, compare the loose button with its neighbors: their height, spacing, and distance from the garment’s edge are your map. Then use a few simple tools and a steady stitch to anchor the button without pinching the fabric.
Gather a few useful tools
For an ordinary shirt button, set out a hand-sewing needle, thread that matches the garment, small scissors, and the button. A thimble can help if the fabric is firm or your fingers tire easily. If the button is still attached by a strand, leave it in place until you’ve checked where it belongs; that thread may preserve a useful clue.
Choose thread with a similar color and weight to the thread used on nearby buttons. If you can’t tell, a close match is usually less noticeable than a stark contrast. All-purpose polyester thread suits many everyday woven garments, while delicate fabrics may call for finer thread. Check the garment’s care label and handle fragile cloth gently. If the fabric is valuable, very delicate, or badly worn, a tailor or experienced sewing professional can advise you.
Look closely at the button before sewing. A flat button has holes through its face; a shank button has a small loop beneath it. The method is much the same, but a shank already provides space between button and cloth. Flat buttons usually need a little thread space under them so they can pass through the buttonhole comfortably.
Find the button’s original position
Lay the garment flat and close it as you would wear it. Check the remaining buttons and buttonholes to see how the fronts align. If the loose button has fallen off, its matching buttonhole points to the position, but don’t rely on the hole alone: the cloth may have stretched or shifted.
Use the neighboring buttons as a second reference. Compare the vertical spacing, distance from the garment’s edge, and relationship to seams, pockets, or a waistband. A ruler can help you compare distances, but visual alignment matters too. On a shirt, for instance, line up the center of each button with the same path down the front rather than measuring from an uneven hem.
Mark the spot lightly with tailor’s chalk or a removable fabric marker if the fabric allows it. For a small repair, you can also hold the button in place and make a tiny mark through one hole with a fine pencil. Test any marking tool on an inconspicuous area first, especially on pale or delicate cloth. If there are no surviving buttons to compare, fasten the garment and align the buttonhole with the place where the button must sit. Check the position while the fabric lies naturally, not stretched under your hands.
Thread the needle and secure the starting end
Cut a comfortable length of thread that you can handle without repeatedly pulling a long tail through the cloth. Thread the needle and bring the ends together. Tie a small knot at the ends, or use a quilter’s knot if you know one. A bulky knot can show through fine fabric, so keep it modest.
Start from the inside of the garment, bringing the needle out at the marked position. The knot should rest against the wrong side, hidden when the garment is worn. If the cloth is thin, take a tiny anchoring stitch on the inside first, then bring the needle through at the button’s position. That gives the thread a firm start without leaving a large lump.
Sew through the holes without crowding the button
Place the button over the mark. For a two-hole button, pass the needle up through one hole and down through the other, repeating the route several times. For a four-hole button, make parallel stitches through one pair of holes and then the other, or form a small X if that matches the nearby buttons. Follow the existing pattern where you can; a uniform row looks tidy and makes the repair blend in.
Keep the button flat and centered as you sew. Don’t yank each stitch tight against the fabric. A flat button needs a small amount of room beneath it so the cloth can slip between button and buttonhole. One easy way to create that space is to lay a toothpick or a short length of thread across the button while you sew, then remove it before finishing. For a thicker garment, use a little more space; for a fine shirt, keep the lift subtle.
Imagine a shirt with one missing button between two intact ones. You align the replacement with the row and the matching buttonhole, then sew a four-hole button in the same parallel pattern as its neighbors. After removing the spacer, you wrap the working thread around the stitches beneath the button a few times and fasten it on the inside. The button should sit straight, with enough clearance to close the shirt without tugging the front out of line.
A shank button doesn’t need the same added lift, since its loop already creates space. Sew through the shank and fabric several times, keeping the button facing the right direction. If the garment uses a decorative button with an unusual back, follow its existing attachment style rather than forcing a flat-button method.
Finish the thread on the inside
When the button feels secure, bring the needle to the inside of the garment. Make a small stitch through the fabric close to the attachment, then pass the needle through the loop of thread before pulling it snug. Repeat this once if the fabric can take it, and trim the thread close without cutting the cloth. The knot should sit flat on the inside, not form a hard bump.
For added security, some people wrap thread around the bundle beneath a flat button before tying off. This creates a small thread stem, often called a shank. It helps the button stand away from the fabric, but the wrap should not be so tight that it crushes the stitches or distorts the cloth. A button that has its own shank does not need this treatment.
Check the repair before wearing it
Close the garment slowly and notice whether the button enters the buttonhole without force. The button should sit in line with its neighbors, lie flat or at a slight angle only if the original design does, and stay attached when you gently move the fabric around it. If it twists, crowds the buttonhole, or pulls the front into a pucker, remove a few stitches and adjust the position or thread space.
Keep the button from rubbing against a rough surface while you work, and avoid pulling hard enough to pucker the surrounding fabric. Small, even stitches are easier to control than one long, tight pull. If the cloth is fraying around the old attachment point, a patch on the inside or professional repair may be needed before the button can hold securely.
A button repair is a little like fastening a coat hook: the visible piece matters, but the support underneath does the real work. Store spare buttons with the garment or in a small labeled envelope, and keep a short length of matching thread nearby if you have it. That way, the next loose button can be dealt with while its position and construction are still easy to compare.